Cucumber supports technologies like Java, Ruby and Php. In this tutorial we will be using Cucumber with Java. Also we will be using IntelliJ IDE because I found writing the Cucumber tests in IntelliJ is easier than writing in Eclipse. No more theory, let jump:
Pre-requisites: JDK and Maven installations.
Step 1: Launch IntelliJ, File --> New --> Project. Select Maven project, archtype and click 'Next' button.
Step 2: Enter Group Id, Artifact Id and click 'Next' and the 'Finish' buttons.
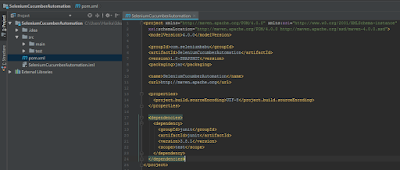
Maven Project should be created as below
Step 3: In the pom.xml add the dependencies Cucumber-Java, Cucumber-Junit, Junit and Selenium as shown below
Right Click on pom.xml --> Maven --> Reimport to download the specified library jar files to the project. After download completion you should see the jars in External Libraries
That's it we created Maven project for Selenium Automation with Cucumber in IntelliJ IDE. Thanks for reading!!
#seleniumbabu #HappyReading


No comments:
Post a Comment